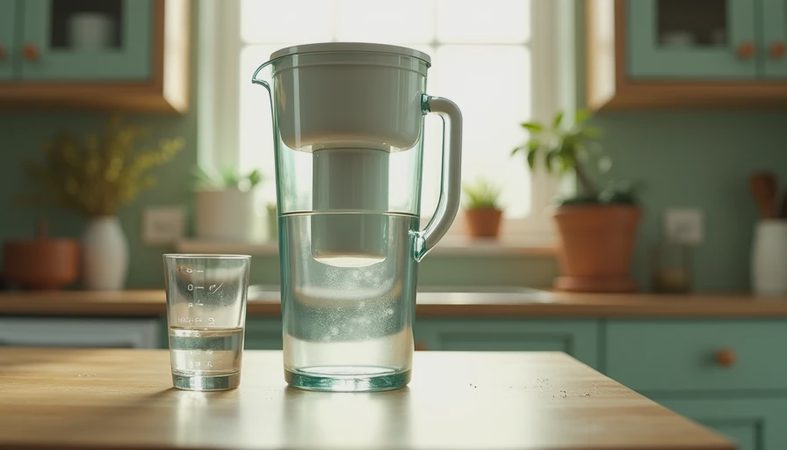
Miami tap water is safe, but safe and delicious are not the same thing. After months of testing pitcher filters and finding they only solved the chlorine problem, I decided to go all the way: a 4-stage under-sink reverse osmosis system. The kind that flushes dissolved solids down the drain and leaves you with water so clean it makes bottled taste like a compromise. I ordered a $220 system, cleared the cabinet, and got to work on a Saturday morning.
The Install: Two Hours, Moderate Swearing
RO systems look intimidating — tanks, tubes, faucets, drain saddles — but if you've ever assembled IKEA furniture, you're qualified. I won't pretend it was effortless; I dropped a compression nut behind the cabinet and had to fish it out with a coat hanger. But the actual steps were logical.
What You're Looking At
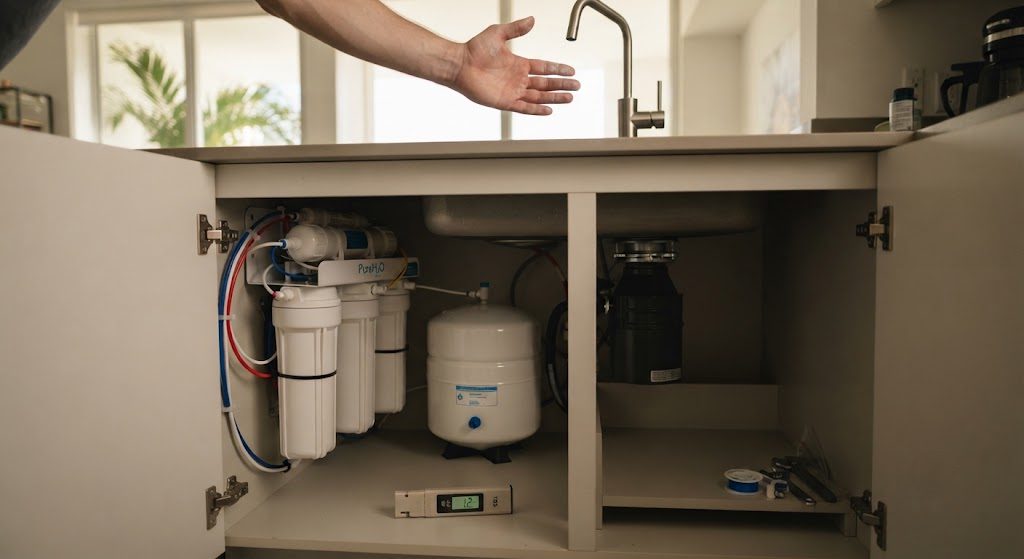
A standard 4-stage system includes: a sediment filter that catches rust and sand; two carbon blocks that strip chlorine and organic compounds; and the RO membrane, a tight semi-permeable sheet that rejects dissolved salts, heavy metals, fluoride, and virtually everything bigger than a water molecule. After the membrane, water sits in a pressurized storage tank. A post-filter polishes the taste before it reaches the dedicated faucet.
The hardest part was drilling a hole in the sink for the dedicated faucet — stainless steel fights back. The rest: tapping into the cold water supply, clamping the drain saddle onto the sink drain, and connecting color-coded tubing. All push-fit connections. Two hours, start to finish, including cleanup.
What the Meters Said
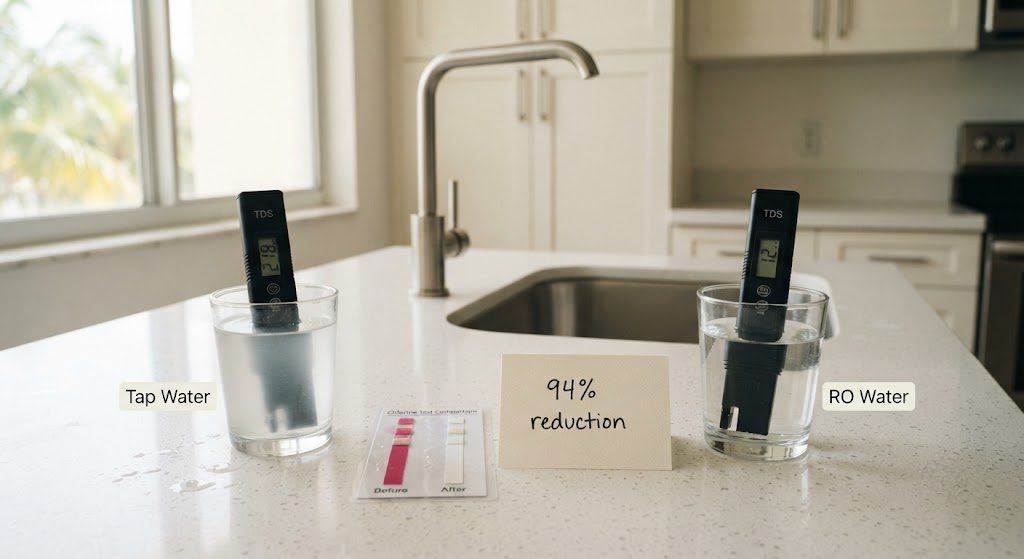
Before the install, I measured the tap with my TDS meter: 218 ppm. The chlorine test strip showed about 1.5 ppm free chlorine. After the system filled and I flushed the tank once, I tested the water from the new faucet: 12 ppm TDS. A 94% reduction. The chlorine strip came up completely blank — no detectable chlorine. For reference, most bottled waters measure between 10 and 50 ppm TDS. This was on the low end, exactly what you want from an RO membrane in good condition.
I also tested with a home water test kit for lead and copper, both of which can leach from Miami's aging building pipes. Both were undetectable post-RO. That's peace of mind a carbon pitcher can't offer.
The Taste Test
I filled three identical glasses: one with unfiltered tap, one with Brita-filtered water, and one with RO water. Same temperature. Three friends, blind. The results: all three picked the RO water as the cleanest. "Tastes like nothing — in a good way," one said. The tap glass was identified instantly by its faint chloramine tang. The Brita was better than tap, but still had a slight mineral character. The RO was neutral, soft, and completely odorless. If you cook with water or brew coffee, this is a meaningful upgrade.
Filter Cost Math
The system wasn't free, and the ongoing costs matter. The sediment and carbon pre-filters need replacing every 6–12 months; the RO membrane lasts 2–3 years. I priced replacements at roughly $50 per year. That's about $4 per month — less than two bottles of Fiji water. Compared to a Brita pitcher ($5 per filter every two months, $30 annually), the RO system is slightly more expensive but delivers genuinely purified water, not just dechlorinated tap. If you're buying bottled water regularly, the RO system pays for itself within a year.
This was the most impactful water upgrade I've made. It's not a weekend project for everyone, but if you're tired of hauling bottles or wondering what's actually in your tap, it's worth every minute under the sink.