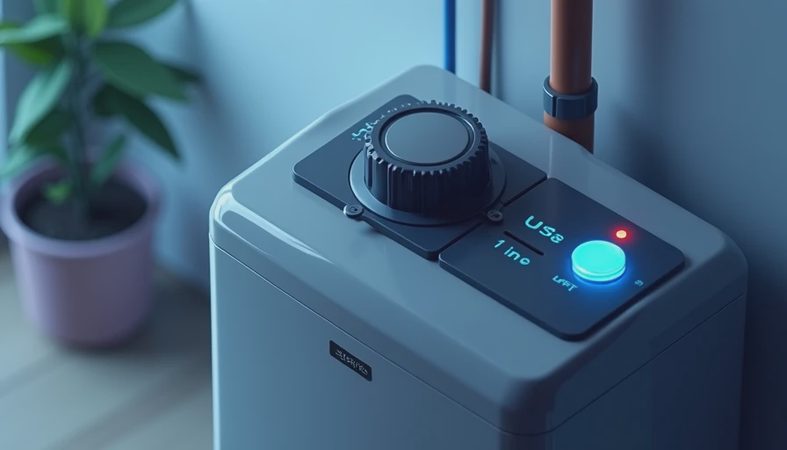
If you have cloudy glass, crusty faucet heads, or soap that never quite rinses clean, water softener installation is probably on your radar already. I spend a lot of time testing home gear in Miami humidity, and hard water is one of those problems people underestimate until the shower door starts frosting over with scale. The good news is that the fix is usually straightforward. The bad news is that a bad setup can waste money fast, especially if the system is oversized, undersized, or plumbed in a way that makes future service a pain.
Before you shop, think less about the shiny tank in the product photo and more about the actual job: where the unit will sit, how the drain line will run, whether you have enough power nearby, and what your water actually measures on a hardness test. That is the difference between a clean install and a weekend you regret.
What water softener installation really includes
A proper setup is more than dropping a tank in the garage and calling it done. Water softener installation usually means connecting the main water line through a bypass valve, routing a drain for regeneration water, adding a brine tank if the system uses salt, and making sure the unit is level and accessible. If the home has PEX, copper, or CPVC, the fittings and approach change a bit, but the job still comes down to clean plumbing and good placement.
The easiest installations are in homes that already have a utility sink, floor drain, or nearby standpipe. If the system has to run across a long stretch of concrete or through a tight condo closet, labor gets less friendly. I also like to see enough room to pull the tank out for service without moving three other appliances first. A system tucked behind holiday boxes is a future headache.
This is also where a lot of buyers make a dumb assumption: they buy by brand name before they know the water profile. If your water has hardness plus iron, or if you are dealing with a well, the setup needs to account for that. Otherwise, water softener installation can be technically correct and still perform like a compromise.
How to size the system before you spend
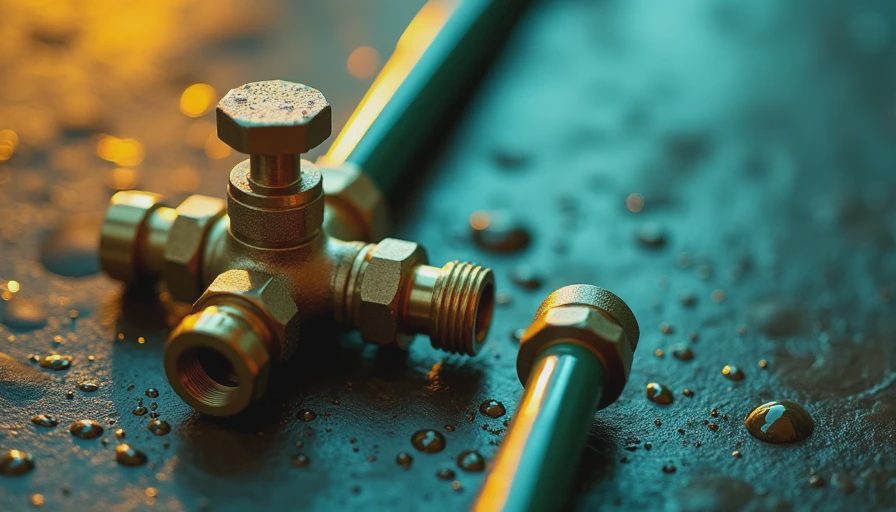
Sizing starts with a basic water test, not a guess based on your neighbor's problem. Hardness is usually measured in grains per gallon, and that number matters because it tells you how often the system will regenerate. A typical two-bath home might do fine with a 32,000- to 48,000-grain unit, while a larger household with higher water use may need 64,000 grains or more. Oversizing is not free. It can mean more upfront cost and a tank that runs less efficiently than it should.
If you are buying a softener online, check the valve style, resin volume, and bypass hardware before you click purchase. A cheap-looking control head can make routine service annoying later, even if the tank itself seems fine. I also pay attention to whether the unit needs a 120V outlet nearby and whether the drain path is practical. Those little details decide whether the job feels like a clean utility upgrade or a mess of extension cords and extra plumbing parts.
When I look at water softener installation from a value angle, I want the system to match the household instead of the marketing. A small apartment does not need a giant dual-tank setup. A busy family with laundry, showers, and a dishwasher running all day probably does.
The real cost of water softener installation
The sticker price for a whole-house softener is only part of the bill. A decent system can start around $500 and climb past $1,500, depending on capacity, control valve quality, and whether you want a single-tank unit or a more advanced setup. Labor often adds another $300 to $1,000, and more if the plumber has to reroute lines, add a drain, or work in a cramped space. That is why water softener installation is one of those projects where a quote that looks high can still be reasonable once you see the scope.
Salt costs are usually manageable, but they are not zero. Many homes burn through a bag or two a month, and the exact number depends on water hardness and usage. If your area has very hard water, the ongoing cost is still usually lower than living with scale damage on water heaters, shower valves, and dishwashers.
I like to compare it to buying a dehumidifier for a room that leaks. The machine matters, but the install and operating plan matter just as much. If you ignore the plumbing realities, the system turns into an expensive box that does part of the job and nags you forever.
When to hire a pro instead of forcing a DIY weekend
I am not ضد DIY here. If you already know how to sweat copper, work with PEX, and shut off a main line without panic, you can probably handle a simple swap. But water softener installation gets tricky when the home has no drain nearby, the main line is in a tight space, or the plumber needs to tie into an old setup with corrosion and mystery fittings. That is the point where a professional saves you from a slow leak that shows up two weeks later.
A good installer should talk you through the bypass valve, confirm the drain route, verify the discharge gap if one is required, and test the system before leaving. They should also tell you how to refill salt, how often to check the tank, and what signs mean the resin or valve needs attention. If they cannot explain the basics in plain English, keep shopping.
For people comparing quotes, I would rather see one solid visit from a competent plumber than a cheap job that leaves the unit half-accessible and the drain line improvised. Water softener installation is one of those projects where clean execution pays off every day you use hot water.
Mistakes that turn a simple job into a headache
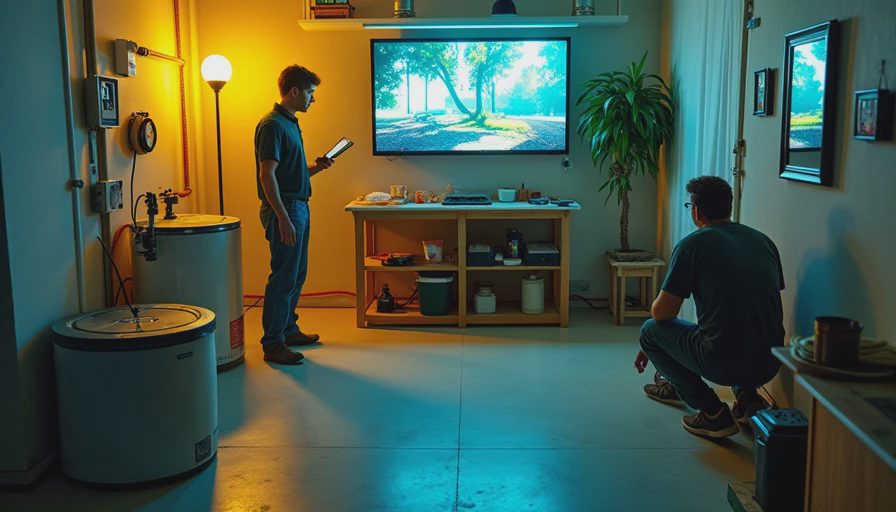
The biggest mistake is buying the wrong capacity and hoping the installer can make it work. The second is ignoring water testing and assuming every home needs the same setup. I also see people place the tank where it is hard to refill, hard to service, or hard to drain. That is how a five-minute maintenance task becomes a chore you keep putting off.
Another common miss is forgetting the rest of the plumbing system. If your water heater already has scale, a softener will help going forward, but it will not magically erase existing buildup. If the home has a whole-house filter, that needs to be part of the plan too. Good water softener installation looks at the full path from the main line to the faucet, not just the shiny new unit.
My advice is simple: get the hardness tested, map the install location, compare labor quotes, and buy the system that fits the house you actually live in. That is how you avoid paying twice. And if you want the shortest path to clean glassware, easier shower cleanup, and less mineral crust on fixtures, water softener installation is worth doing right the first time.