Air quality is one of those phrases appliance companies love to print in enormous letters. It sounds scientific, but it often tells you almost nothing about whether a machine will help your bedroom, nursery, or open-plan living room. After testing more than 150 environmental appliances in my Miami home, I have learned that better air quality usually comes from a few boring fundamentals: enough clean-air delivery, sensible humidity control, fresh filters, and realistic expectations.
I am Cole Reyes, and my test bench includes a particle counter, carbon dioxide monitor, VOC meter, humidity logger, and sound meter. I do not award points because a purifier has a glowing ring or an impressive app. I look for measurable changes, then ask whether the machine is quiet and affordable enough to run every day.
What air quality actually includes
Indoor air quality is not one number. Particles are the most familiar problem, including dust, pollen, smoke, and fine particles from cooking. A purifier with a genuine HEPA filter can capture many of those particles as air passes through it. The important phrase is as air passes through it. A filter sitting inside a weak fan is not doing much work.
Carbon dioxide is different. It rises when people occupy a room and ventilation is limited. A purifier does not remove meaningful amounts of carbon dioxide, no matter how futuristic its display looks. Opening a window, running a properly vented exhaust fan, or improving the HVAC ventilation strategy addresses that problem instead.
Humidity affects comfort, mold risk, and how a room feels. In coastal Miami, indoor humidity can sit above 60 percent when air conditioning is not running long enough. That sticky feeling is not fixed by a small desktop purifier. A dehumidifier or better cooling-cycle control is the relevant tool.
Start with particles, not marketing
For most homes, particle control delivers the clearest improvement. Run a purifier near a litter box, kitchen, dusty hallway, or bedroom and you can often see the particle counter respond within minutes. A useful unit needs a filter with a substantial surface area and a fan that can move enough air. The clean air delivery rate, commonly called CADR, is more useful than a vague claim such as removes 99.9 percent of pollutants.
Room size ratings can be optimistic. A purifier advertised for 1,000 square feet may achieve that figure at a low air-change target or under ideal conditions. For a bedroom, I would rather see a correctly sized unit produce several air changes per hour than buy a giant machine that stays on its lowest setting because the noise is irritating.

A $100 to $200 purifier can be perfectly worthwhile if replacement filters are available and the fan runs continuously. Some inexpensive models from Levoit and Coway have straightforward controls and widely available filters. More expensive Blueair, Winix, and Austin Air units can make sense when you need higher airflow, heavier construction, or specialized filtration. Price alone does not determine air quality performance.
The filter details that matter
Look for the filter stack before looking at the color-changing light. A typical particle-focused purifier has a washable or disposable prefilter, a fine-particle filter, and sometimes an activated carbon layer. The prefilter catches hair and lint, protecting the deeper filter. Vacuum it according to the manual, but do not wash a filter unless the manufacturer specifically says it is washable.
Activated carbon can help with some odors and gases, but a thin black sheet is not the same as a deep carbon bed. If your main problem is wildfire smoke, cigarette smoke, or strong cooking odors, prioritize airflow and substantial carbon rather than a tiny fragrance cartridge. I also avoid ozone-generating units. Ozone is a lung irritant, not a cleaning shortcut.
Replacement cost deserves a place in your budget. A purifier that costs $130 but needs a $60 filter every six months can cost more over three years than a $220 model with cheaper, longer-lasting replacements. Check the actual filter price and availability before buying, especially for obscure marketplace brands.
Humidity and ventilation are half the solution
A purifier cannot solve condensation on windows, a musty closet, or a bathroom that stays damp for hours. Use a basic hygrometer in the rooms that concern you. Many homes feel comfortable around 40 to 60 percent relative humidity, though the best setting depends on temperature, construction, and personal comfort. Persistent readings above that range deserve investigation, particularly near bathrooms, closets, and exterior walls.
Run bathroom exhaust fans during showers and for a while afterward. Use the range hood when frying or searing, and confirm that it vents outdoors rather than merely recirculating through a small filter. If outdoor conditions are smoky or humid, opening every window is not automatically good advice. Ventilation works when the incoming air is cleaner and drier than the air indoors.
In my own place, the biggest air quality improvement during muggy weeks came from controlling humidity first and running the purifier second. The purifier removed particles; the air conditioner and dehumidifier made the room less hospitable to moisture problems.

How to choose a purifier for each room
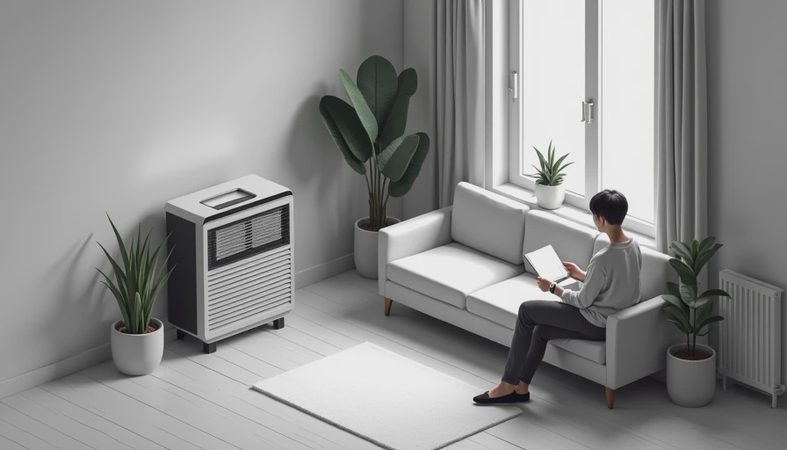
For a small bedroom, prioritize quiet operation, a sleep mode that actually dims the display, and a filter you can afford. A unit producing roughly 40 to 50 decibels on a useful setting is easier to live with than a powerful machine that gets switched off every night. Put it where air can enter and leave freely, not behind a curtain or pressed against furniture.
For a living room, airflow matters more than a clever sensor. An open floor plan may need two moderate units instead of one model claiming an enormous coverage area. Place one near the main seating zone and another near the cooking or entry area if those are separate particle sources.
For allergies, choose strong particle filtration and keep windows closed during high-pollen periods. For smoke, add substantial carbon and place the purifier near the source while still allowing circulation. For odors caused by moisture, address the leak, humidity, or contaminated material instead of expecting carbon to hide the problem forever.
A simple testing and buying checklist
Before spending money, write down the room's approximate length, width, and ceiling height. Note whether doors stay open and whether the space connects to a hallway. Then compare the manufacturer's CADR figures, not just the headline square-foot rating. Search for replacement filters and record their current price. If the total ownership cost looks uncomfortable, choose a simpler model with reliable parts.
After installation, run the purifier at a higher setting for several hours, then use a lower continuous setting. Watch whether dust settles less quickly, whether smoke clears faster after cooking, and whether your particle monitor shows a repeatable change. A sensor built into the purifier is useful for automation, but it is not a laboratory instrument.
Do not expect a purifier to remove carbon dioxide, repair mold, eliminate every VOC, or replace a safe HVAC system. Those promises are usually where a reasonable appliance turns into an expensive gimmick. Better air quality comes from matching the tool to the pollutant.
My practical bottom line
Start with a particle source, a humidity reading, and a realistic room size. Buy the strongest quiet purifier your budget can support, then confirm that its filters will still be available next year. Keep the prefilter clean, use kitchen and bathroom ventilation, and measure before making dramatic changes.
The best air quality setup is rarely the one with the brightest display or the longest feature list. It is the setup that runs consistently, produces measurable particle reduction, keeps moisture under control, and does not punish you with noise or replacement costs. If you are comparing machines, bring me the model numbers and filter prices. That is where the useful answer usually starts.